..
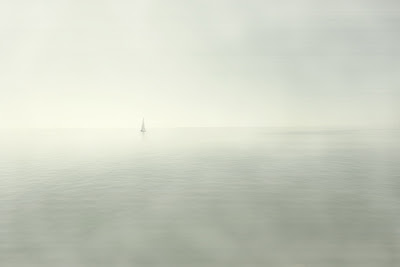
portfolio series by © Christian Schmidt
..
..
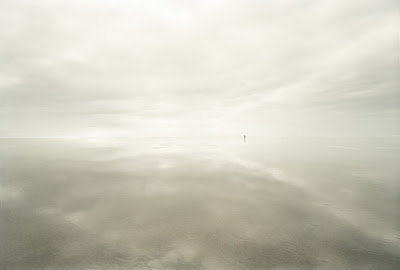
portfolio series by © Christian Schmidt
..
..
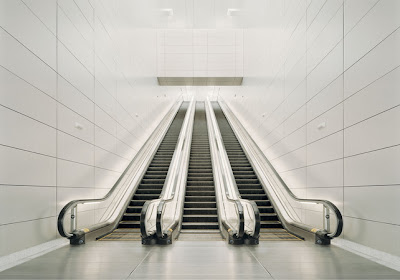
portfolio series by © Christian Schmidt
..
..
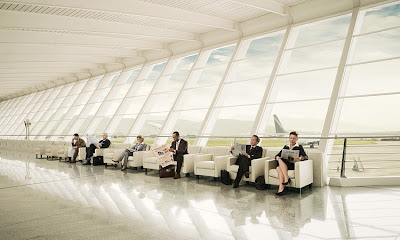 portfolio series by © Christian Schmidt
..
 portfolio series by © Christian Schmidt
..
 portfolio series by © Christian Schmidt
..
 portfolio series by © Christian Schmidt
..
......
For all the lazy peeps, a recap of post #42:
....
I am way too helpful with this- Download this www.aim-dtp.net/aim/download/aim_profiles.zip
- Unzip
- Right click the profiles, and choose "Install". This makes them avail. in PS. (it's the AIM RGB we're looking for)
....
....
- Open a picture
- Edit - Convert to profile -> Adobe RGB (1998)
- Edit - Assign profile - AIM RGB
.....
.....
-.and again
.......
.......
- Edit - Convert to profile -> Adobe RGB (1998)
- Edit - Assign profile - AIM RGB
- Duplicate Background layer
....
....
- Set copy to Multiply- Still on copy -> Blending Options - Alt-click "Underlying Layer" and drag the white(on the right) slider to about 112
- Add a Curves layer, and drag the black slider to about "Input 25".
....
....
- Take a bow!!!
....
....
..re: © pixelhunter
....
....
....
----------------------------------> Additional tips
...
Surely. It's really nothing more than a series of small tweaks pushing towards the end result by correcting what I see is "wrong" with the photo. Here's what I did:
....
Profile conversion: Convert, Apply, Convert, Apply, dupe, multiply, blend if, curves.
....
Result is too warm - Color balance layer: -15, -2, +55
.....
Walls are too dark - Levels layer: 0, 1.25, 236 (input)
....
Still too warm - Curves layer: R midpoint 128/132, B midpoint 128/113 (Output/Input)
....
Highlights blown out - Dupe b/g, levels within duped layer, 0, 232 (output)
....
Shadows too green - H/S layer, Greens -100 saturation, all colors with the exception of blue and cyan pulled down somewhat, overall saturation -23.
....
Done.
.....
All the numbers stated above are the exact numbers from the layers in my PSD. They work for this image (and by work I mean got me the result I was looking for), but they'd be completely different for a different image. I arrived at each value by seeing what I didn't like about the current state of my image and moving sliders and bending curves until it looked "right." This may not be the fastest, easiest, or even the best way to go about it, but that's the approach that I often use and I've found that it often gets me the results I want.
....
Best of luck!
....
....
....
----------------------------------> Additional tips
----------------------------------> Additional tips
..
1. Create blank layer. Fill with pure white. Apply in Colour blending mode. Back down opacity a little so that the result is not B&W. Mask the layer, and use a very faint grey brush to bring back some of the colour in the stairs and anywhere else you feel needs it (like the black handrails and the aluminium below it).
...
2. Create a curves adjustment layer and tweak the shadows and highlights to even out greys and prevent burn out in the whites.
...
3. Use a graduated neutral density layer (i.e. dark grey to light grey) with dark at the bottom and light at the top applied in soft light blending mode. Adjust opacity to taste. This reverses the acutal lighting and makes the image steadily brighter towards the top of the escalator.
....
4. Merge all of this, make a duplicate and apply in soft light blending mode (just a few % opacity) to increase contrast a tiny bit more.
....
5. Using whatever method you prefer to make a very slight "soft focus" glow to give the whites and metal a slight pearly look.
....
....
Thats it.
..
..re: © Verywierd


